Adding Workspaces
Last updated About 1 year ago
Why have multiple workspaces?
You can create multiple workspaces to separate expenses for different businesses, properties, or to categorize expense types (e.g., Personal vs. Business). Each workspace is unique and will have its own vendors, categories, payment methods, and team members. Please note that only paid users can add new workspaces, and members with assigned roles cannot create workspaces
Personal vs. Business workspace
The difference between a personal and business workspace is that business workspaces will include tax-deductible categories and different income categories.
To add a workspace
Mobile App
Mobile App
Tap the workspace selector (top-right)
Tap "Add New Workspace"
Enter a workspace name
Select the type of workspace
Web App
Web App
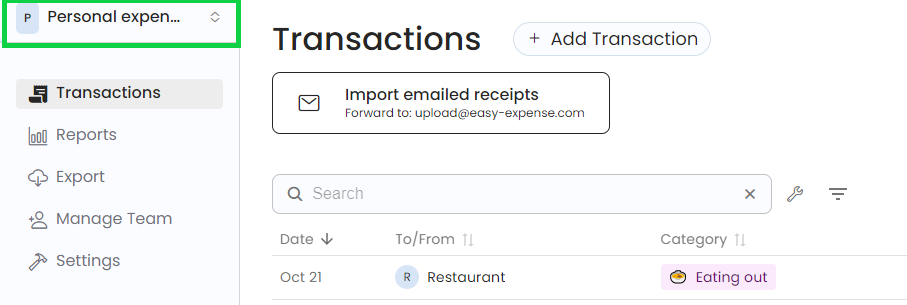
Click the workspace selector (top-left)
Click “Add Workspace”
Input the workspace name
Click “Save Workspace”
To switch between workspaces
Mobile App
Mobile App
Tap the workspace selector (top-right)
Tap the workspace you want to switch to
Web App
Web App
Open the web app
Click on the workspace selector in the top left corner
Select the workspace you want to switch to
Was this helpful?
Still need help? Share an idea