Add a Refund
When adding refunds to an expense, the total will automatically update to reflect the amount refunded or unrefunded.
Last updated About 1 year ago
To add a refund
Mobile App
Mobile App
Adding a refund will subtract the refund amount from the current total amount.
(Total Amount - Refund = New Total Amount)
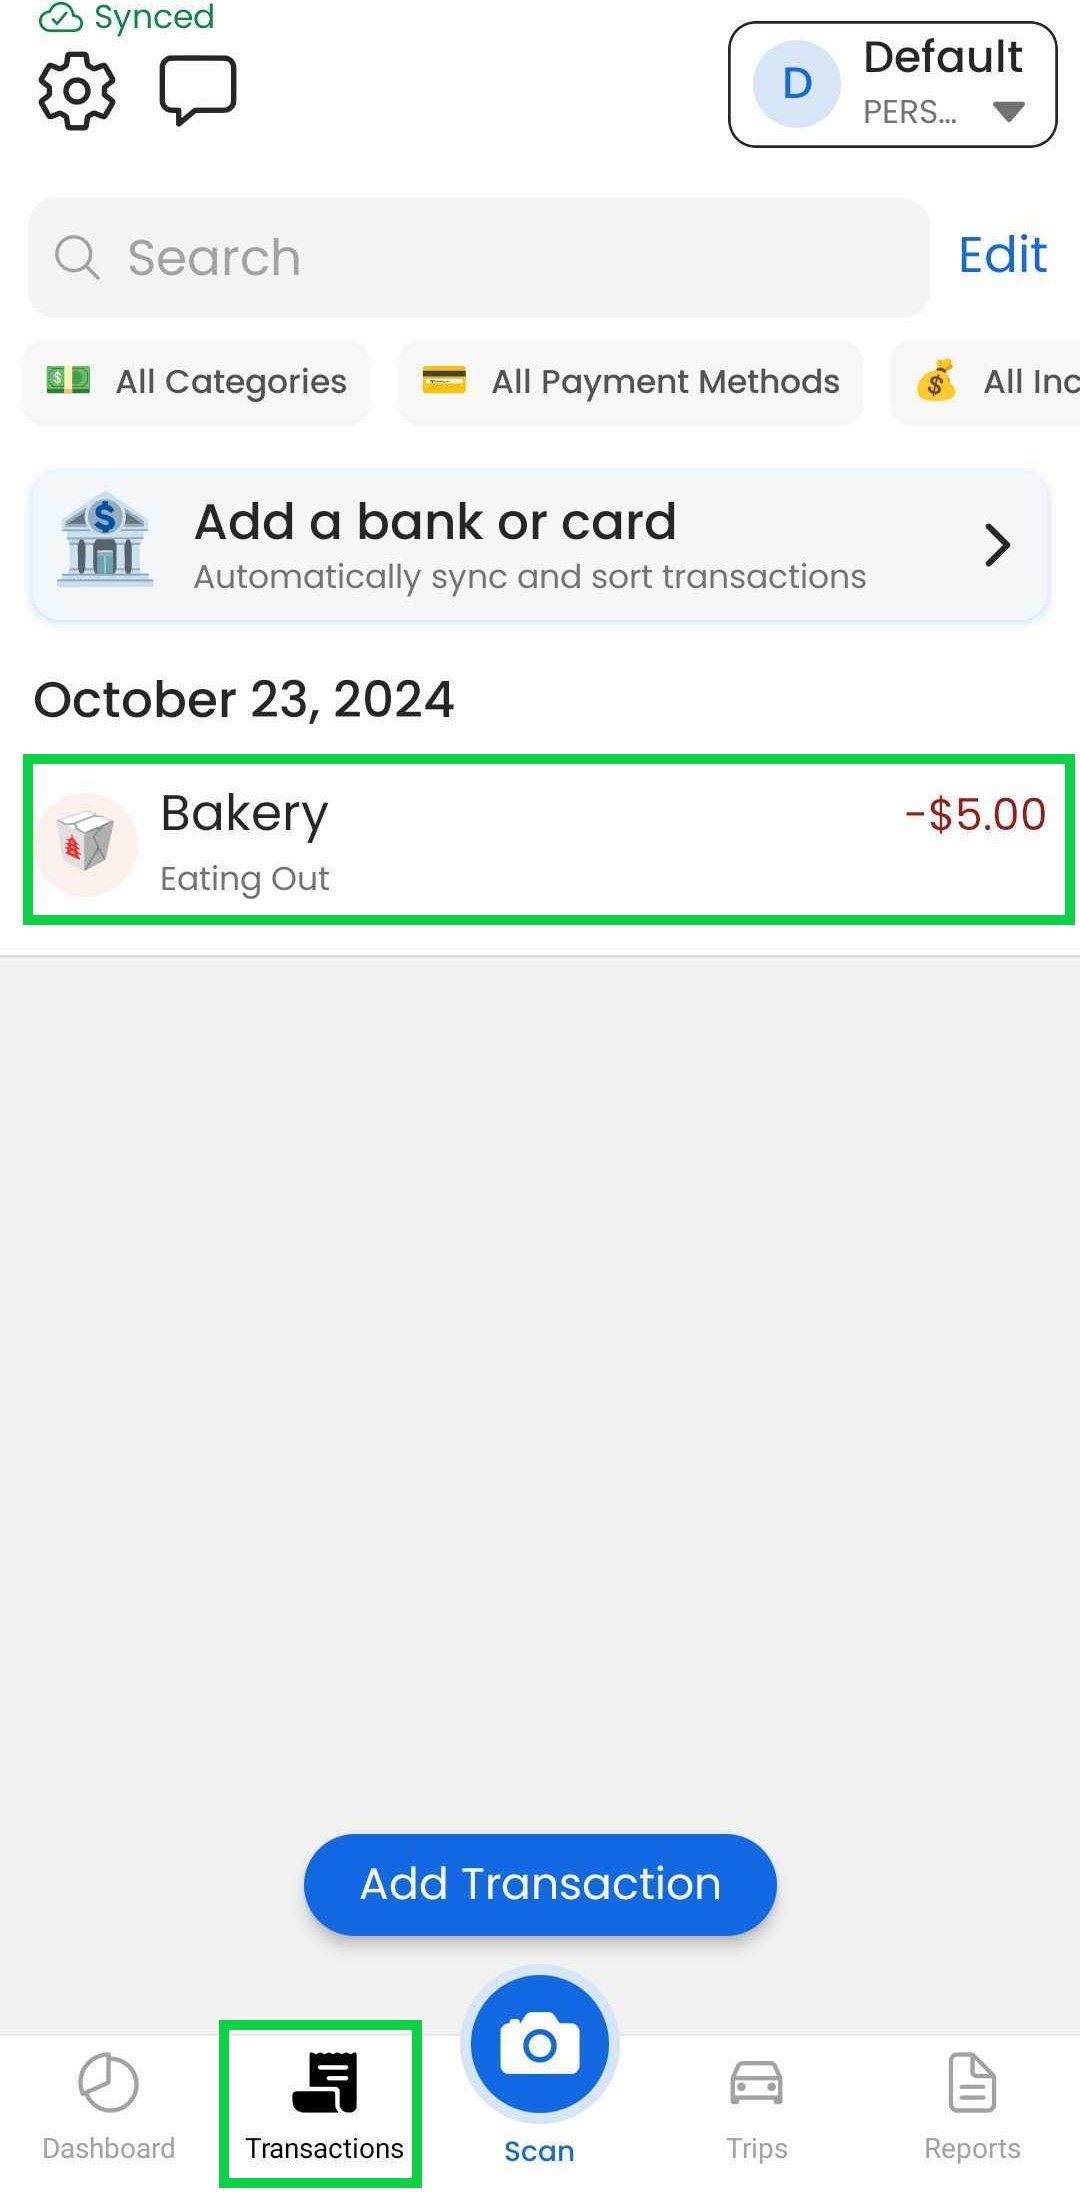
Tap the "Transactions" tab
Tap the expense
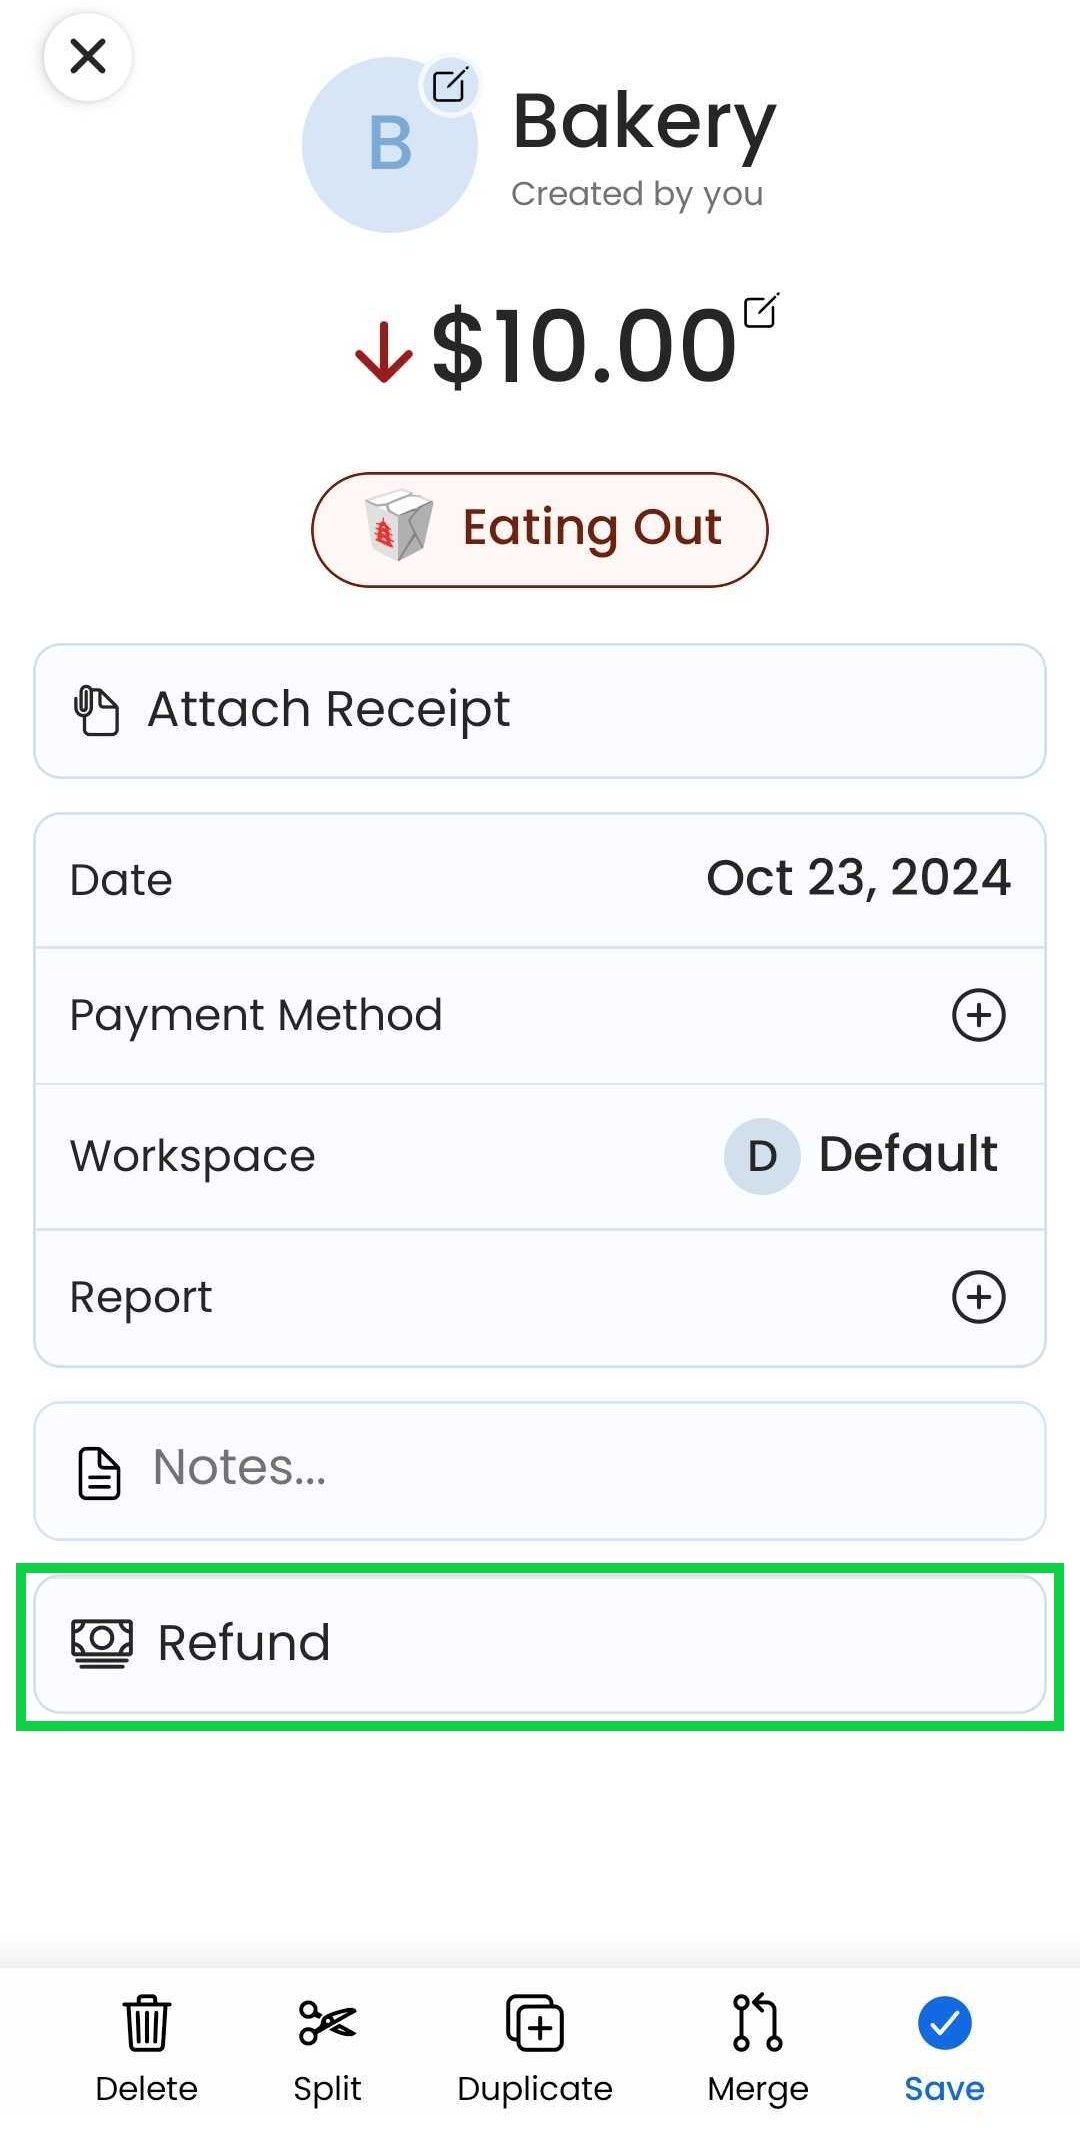
Tap the “Refund” button
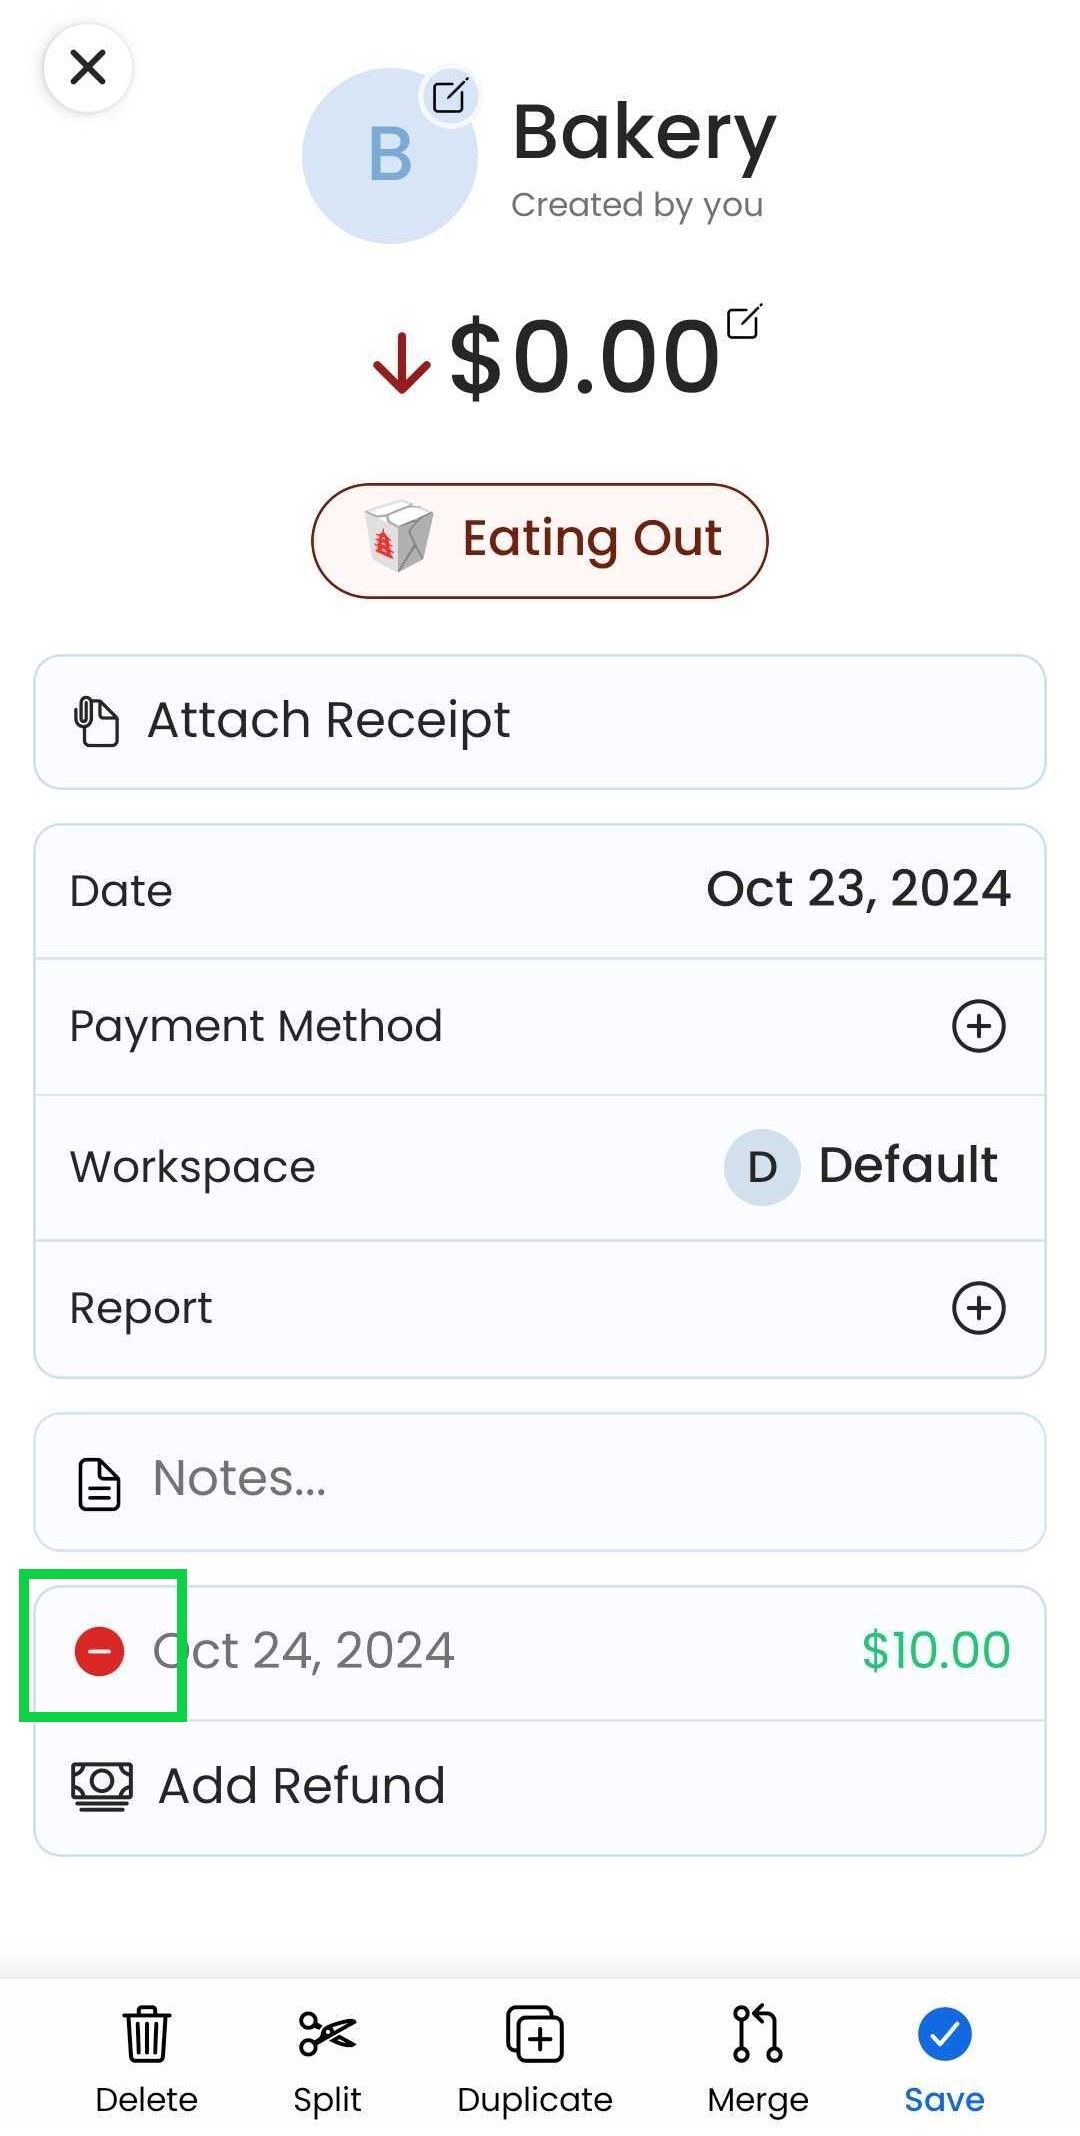
Enter the refund amount (or change the refund date if desired)
Tap “Save”
Tap the "Save" button on the bottom right corner
If you must change the initial expense total, remove the refund first before editing the total.
Web App
Web App
At the moment, refunds can only be added as a credit or separate expense on the Web App
To remove a refund
Mobile App
Mobile App
Removing a refund will add the refund amount to the current total amount.
(Total Amount + Refund = New Total Amount)
Tap the "Transactions" tab
Tap the expense
Tap the red remove icon next to the date of the refund
Web App
Web App
At the moment, this feature is only available through our Mobile App
To add a refund as a credit or separate expense
Mobile App
Mobile App
To show the expense as a credit, create a new expense with a value of zero and add a refund to it.
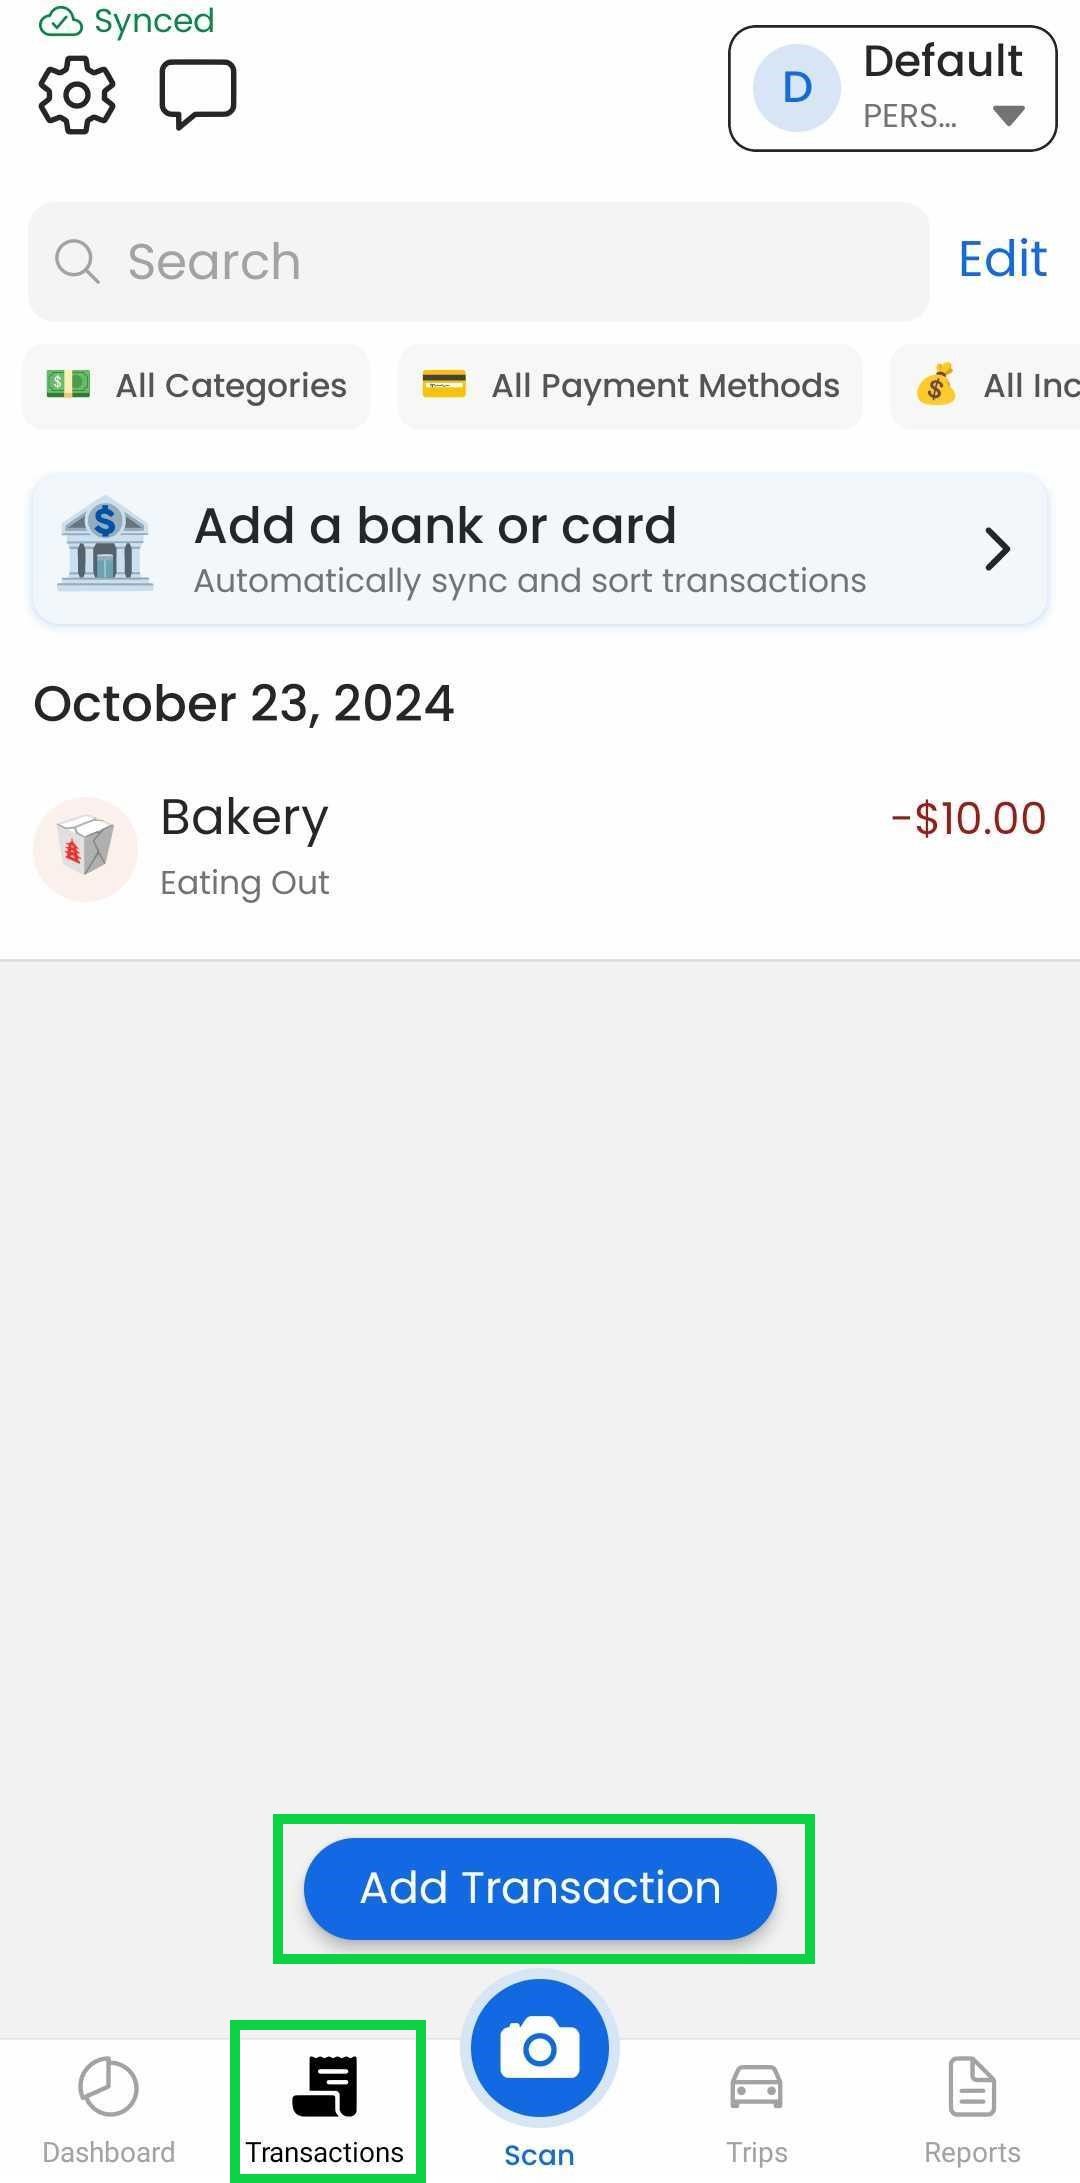
Tap the "Transactions" tab
Tap "Add Transaction"
Tap "Expense"
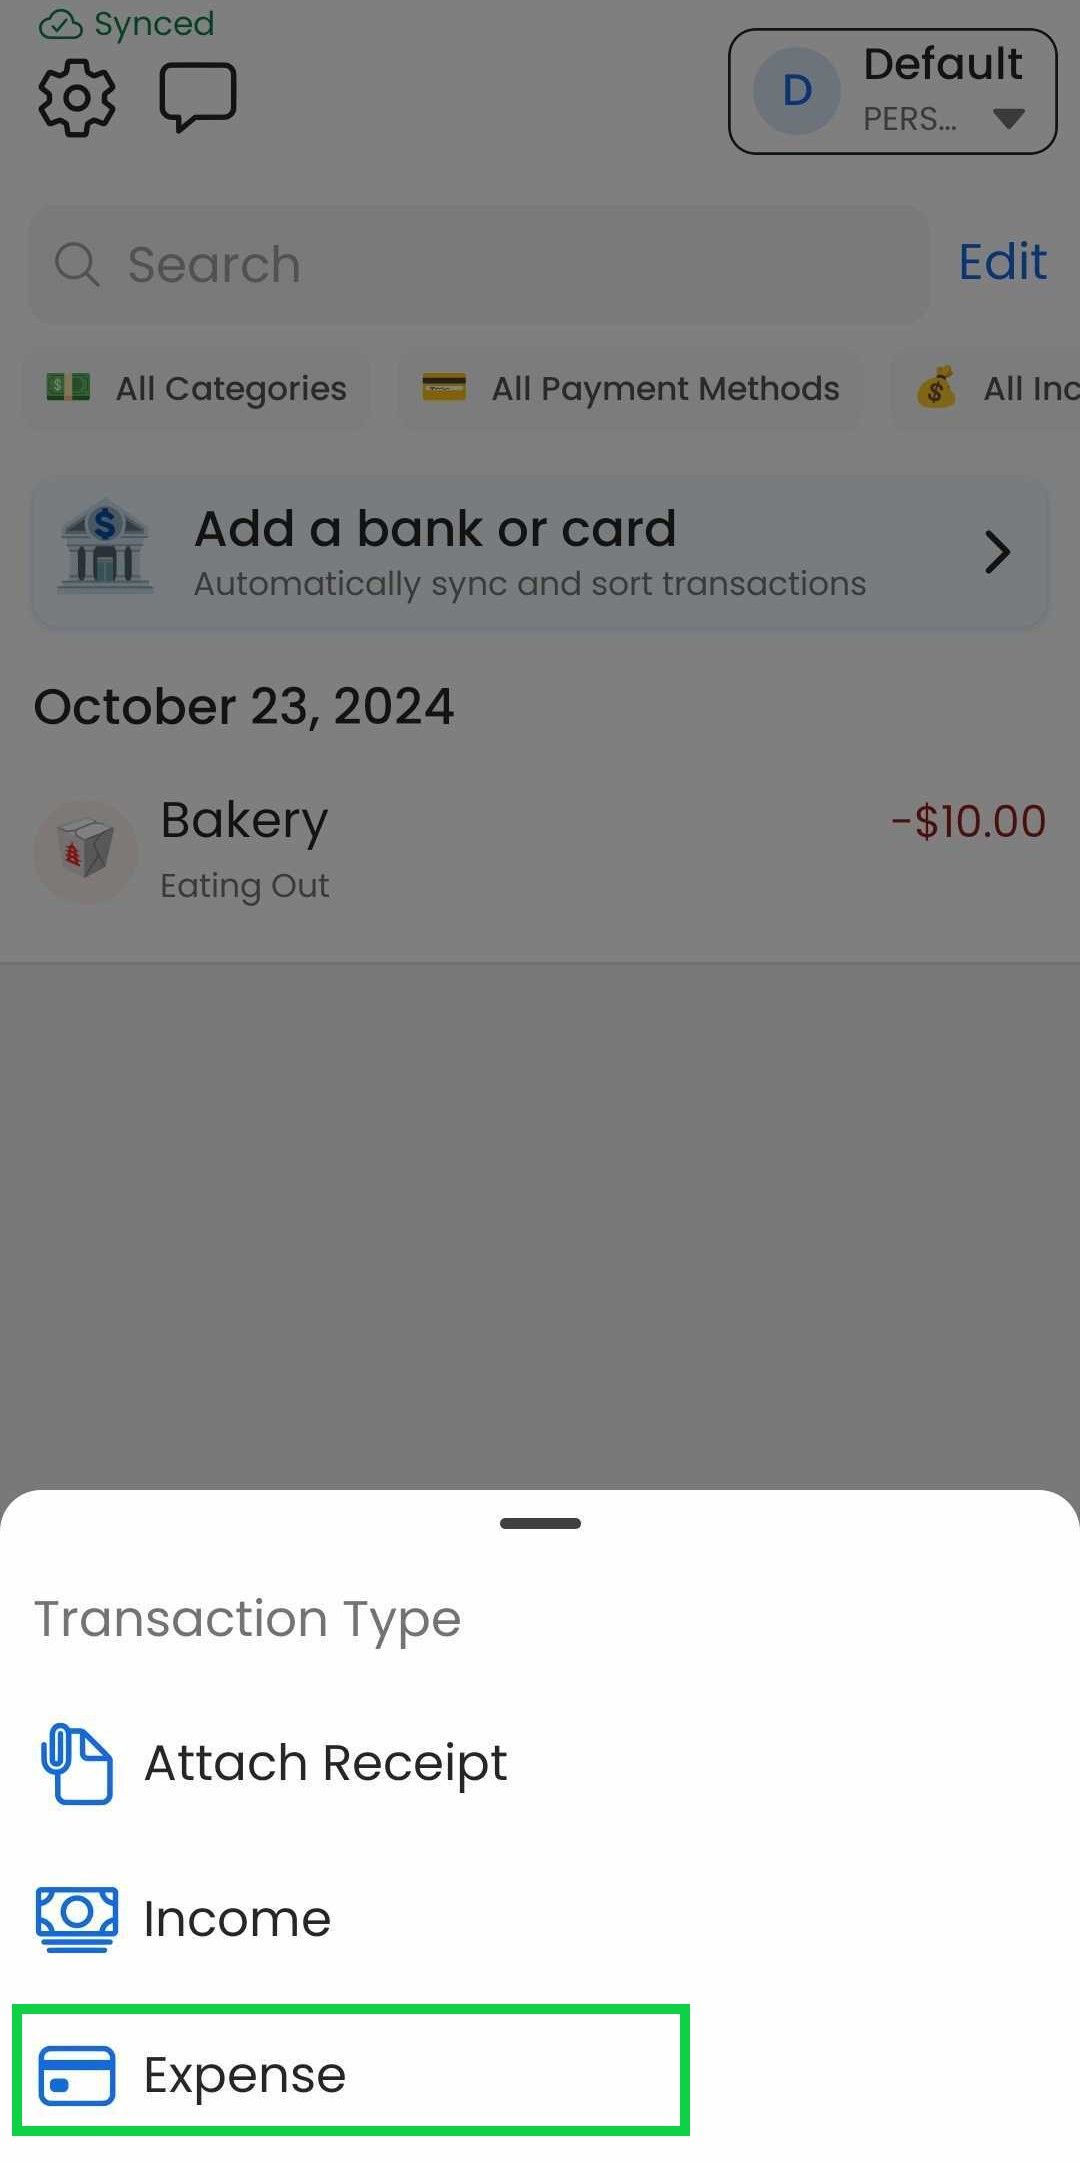
Select vendor & category
Tap "Save" (total should be 0.00)
Tap the "Refund" button
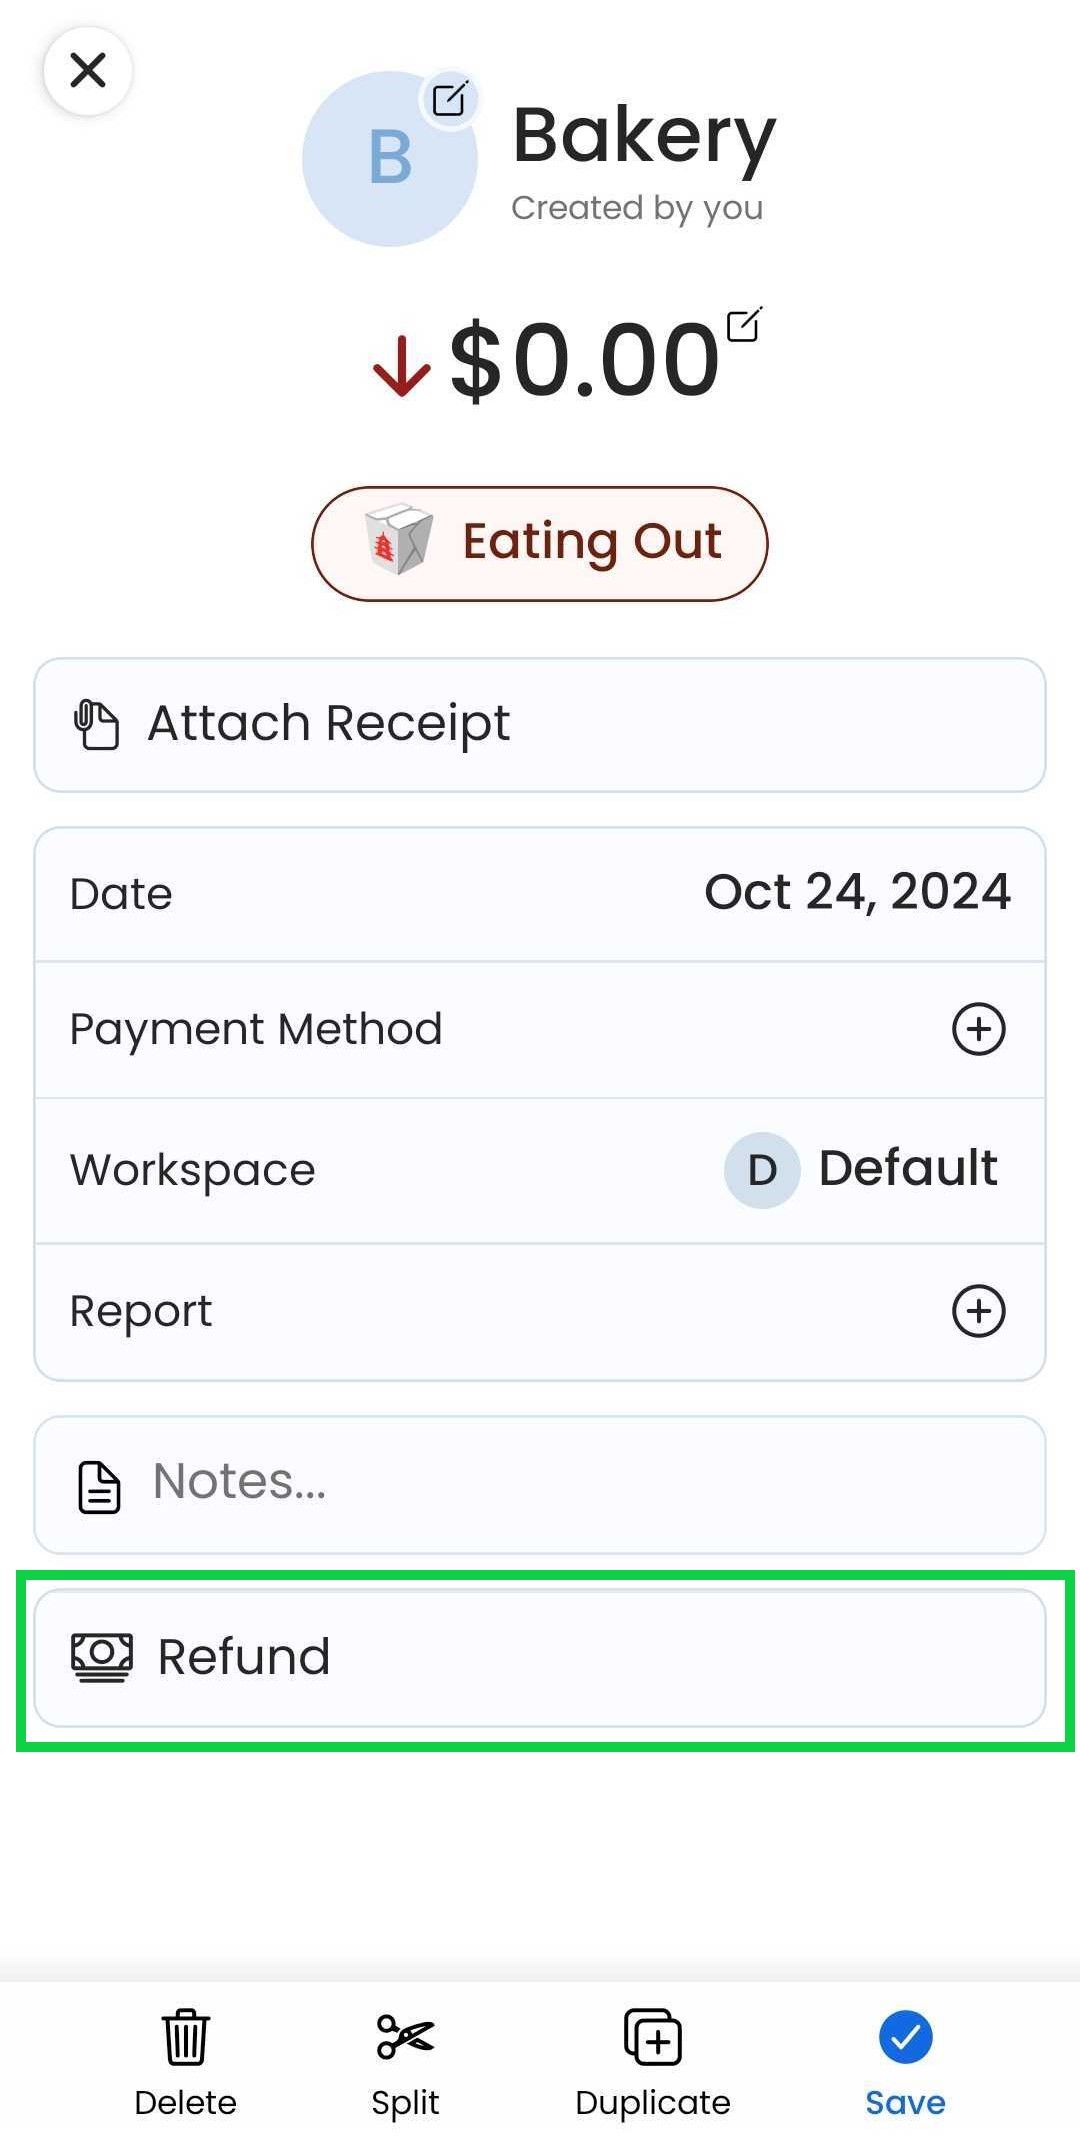
Add the refund amount
Tap "Save"
Web App
Web App
Open the web app
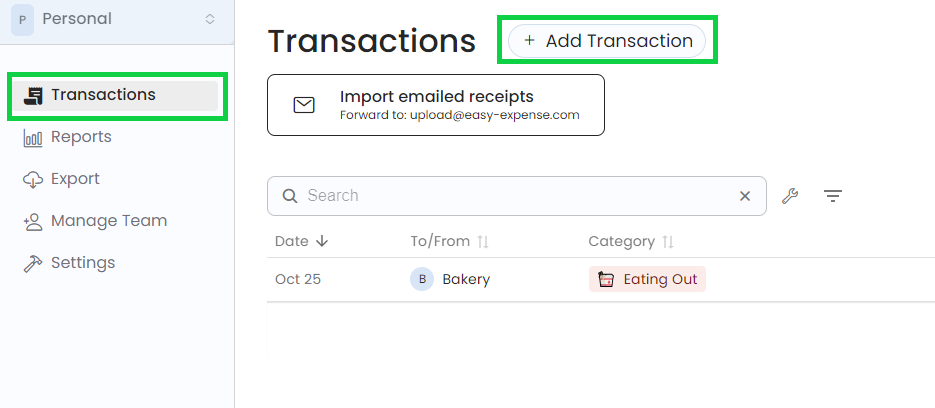
Click on “Transactions”
Click on “Add transaction”
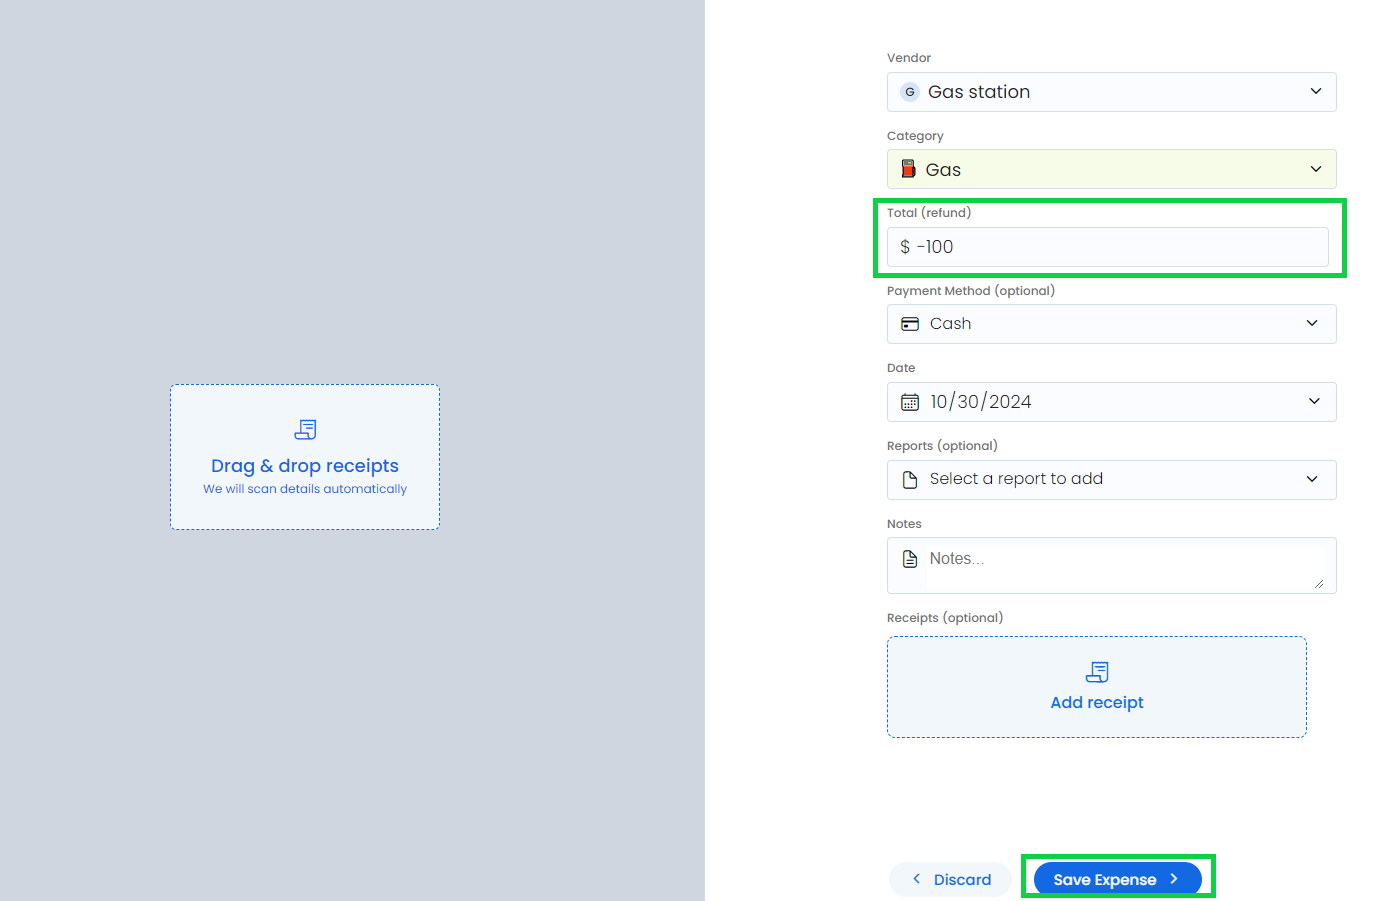
Add a negative refund amount
Fill in the desired fields
Click on “Save Expense”
Was this helpful?
Still need help? Share an idea